Sensors
Manage Sensors
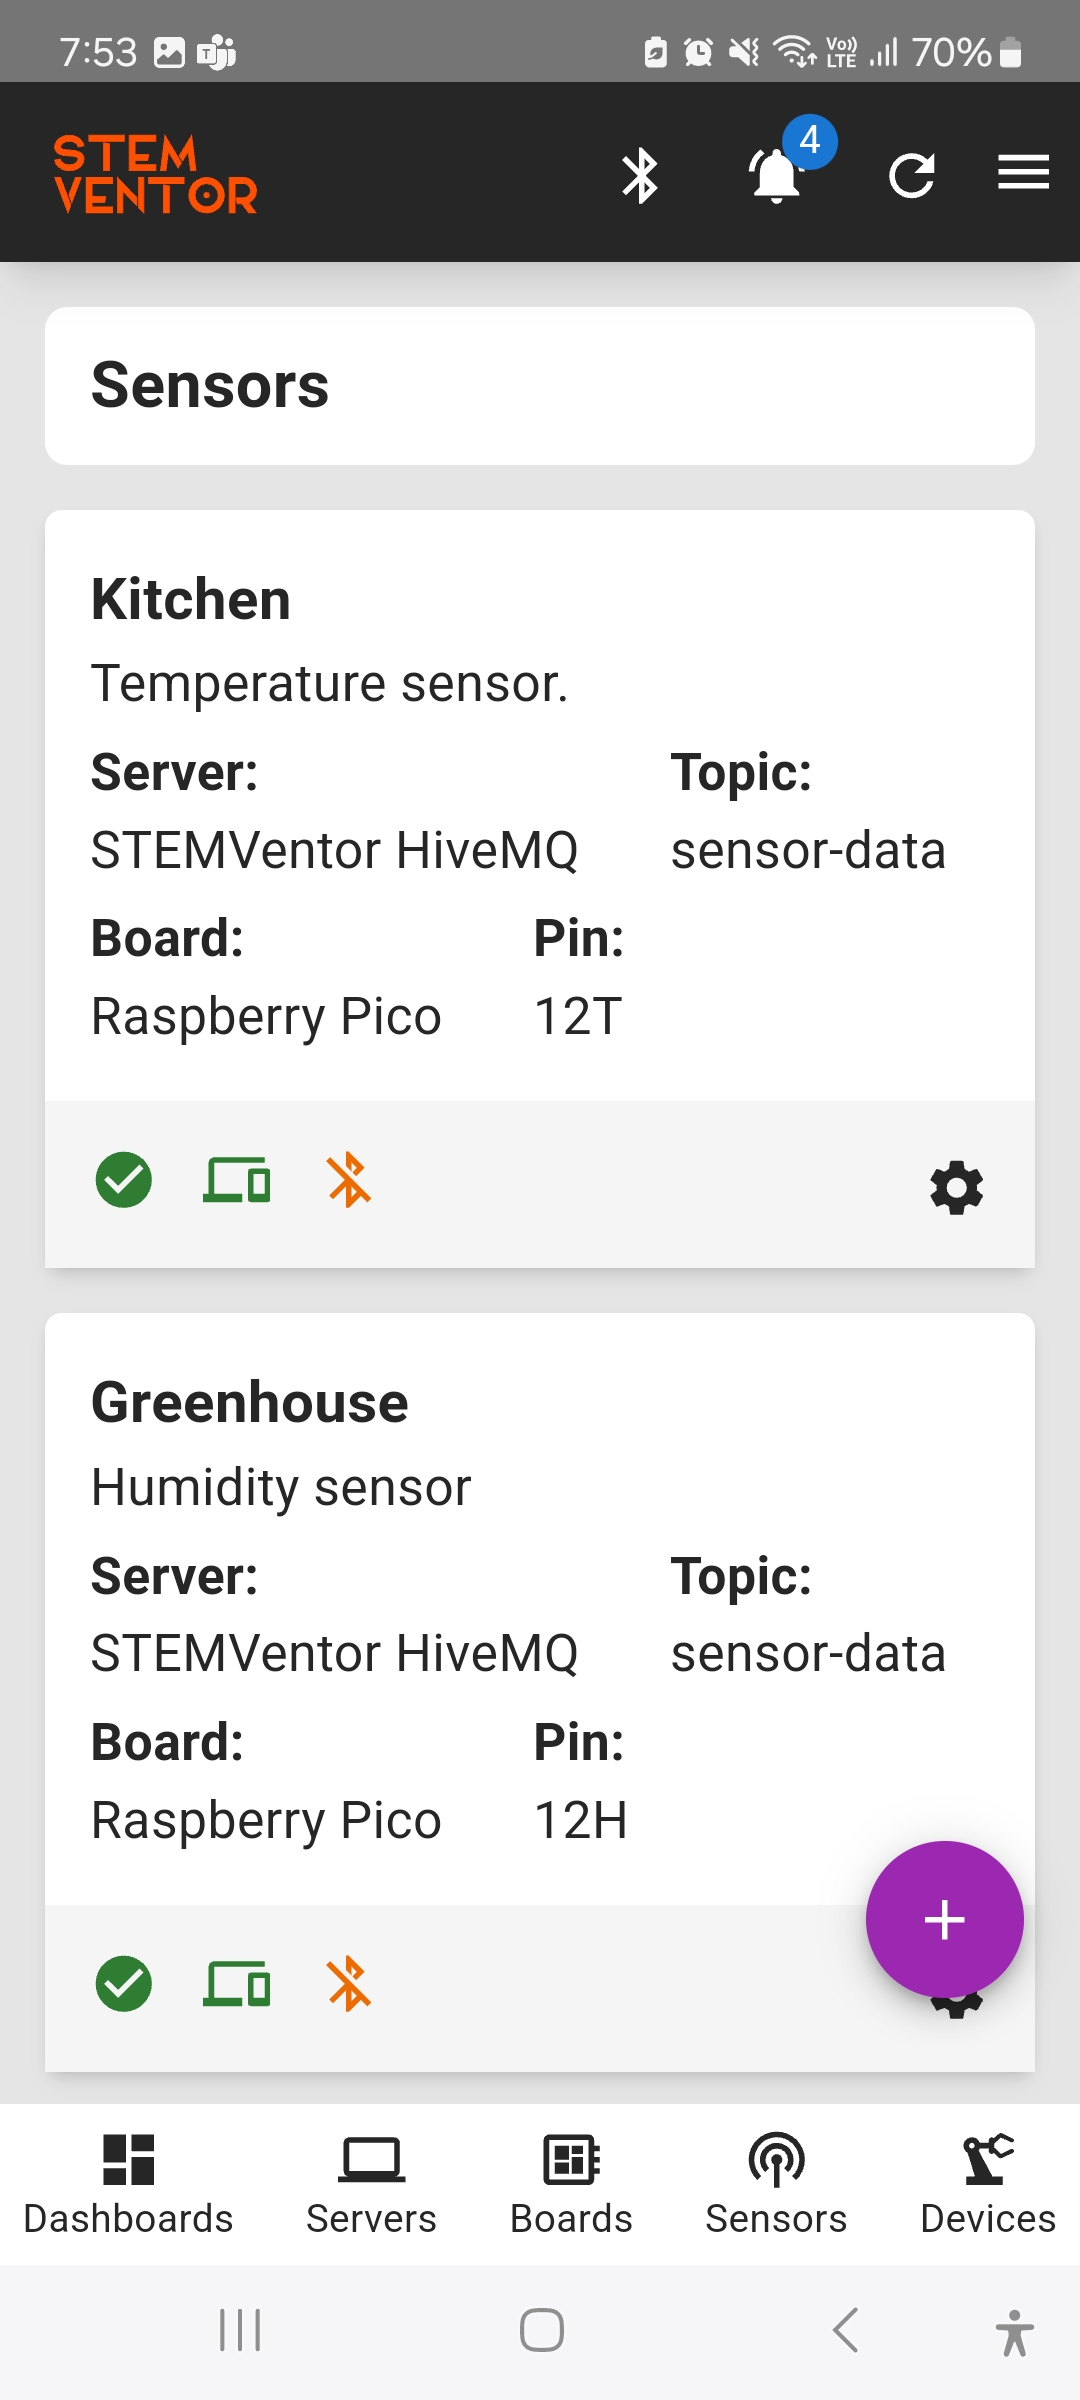
Sensors are connected to boards which send the captured data to the app over MQTT or BLE.
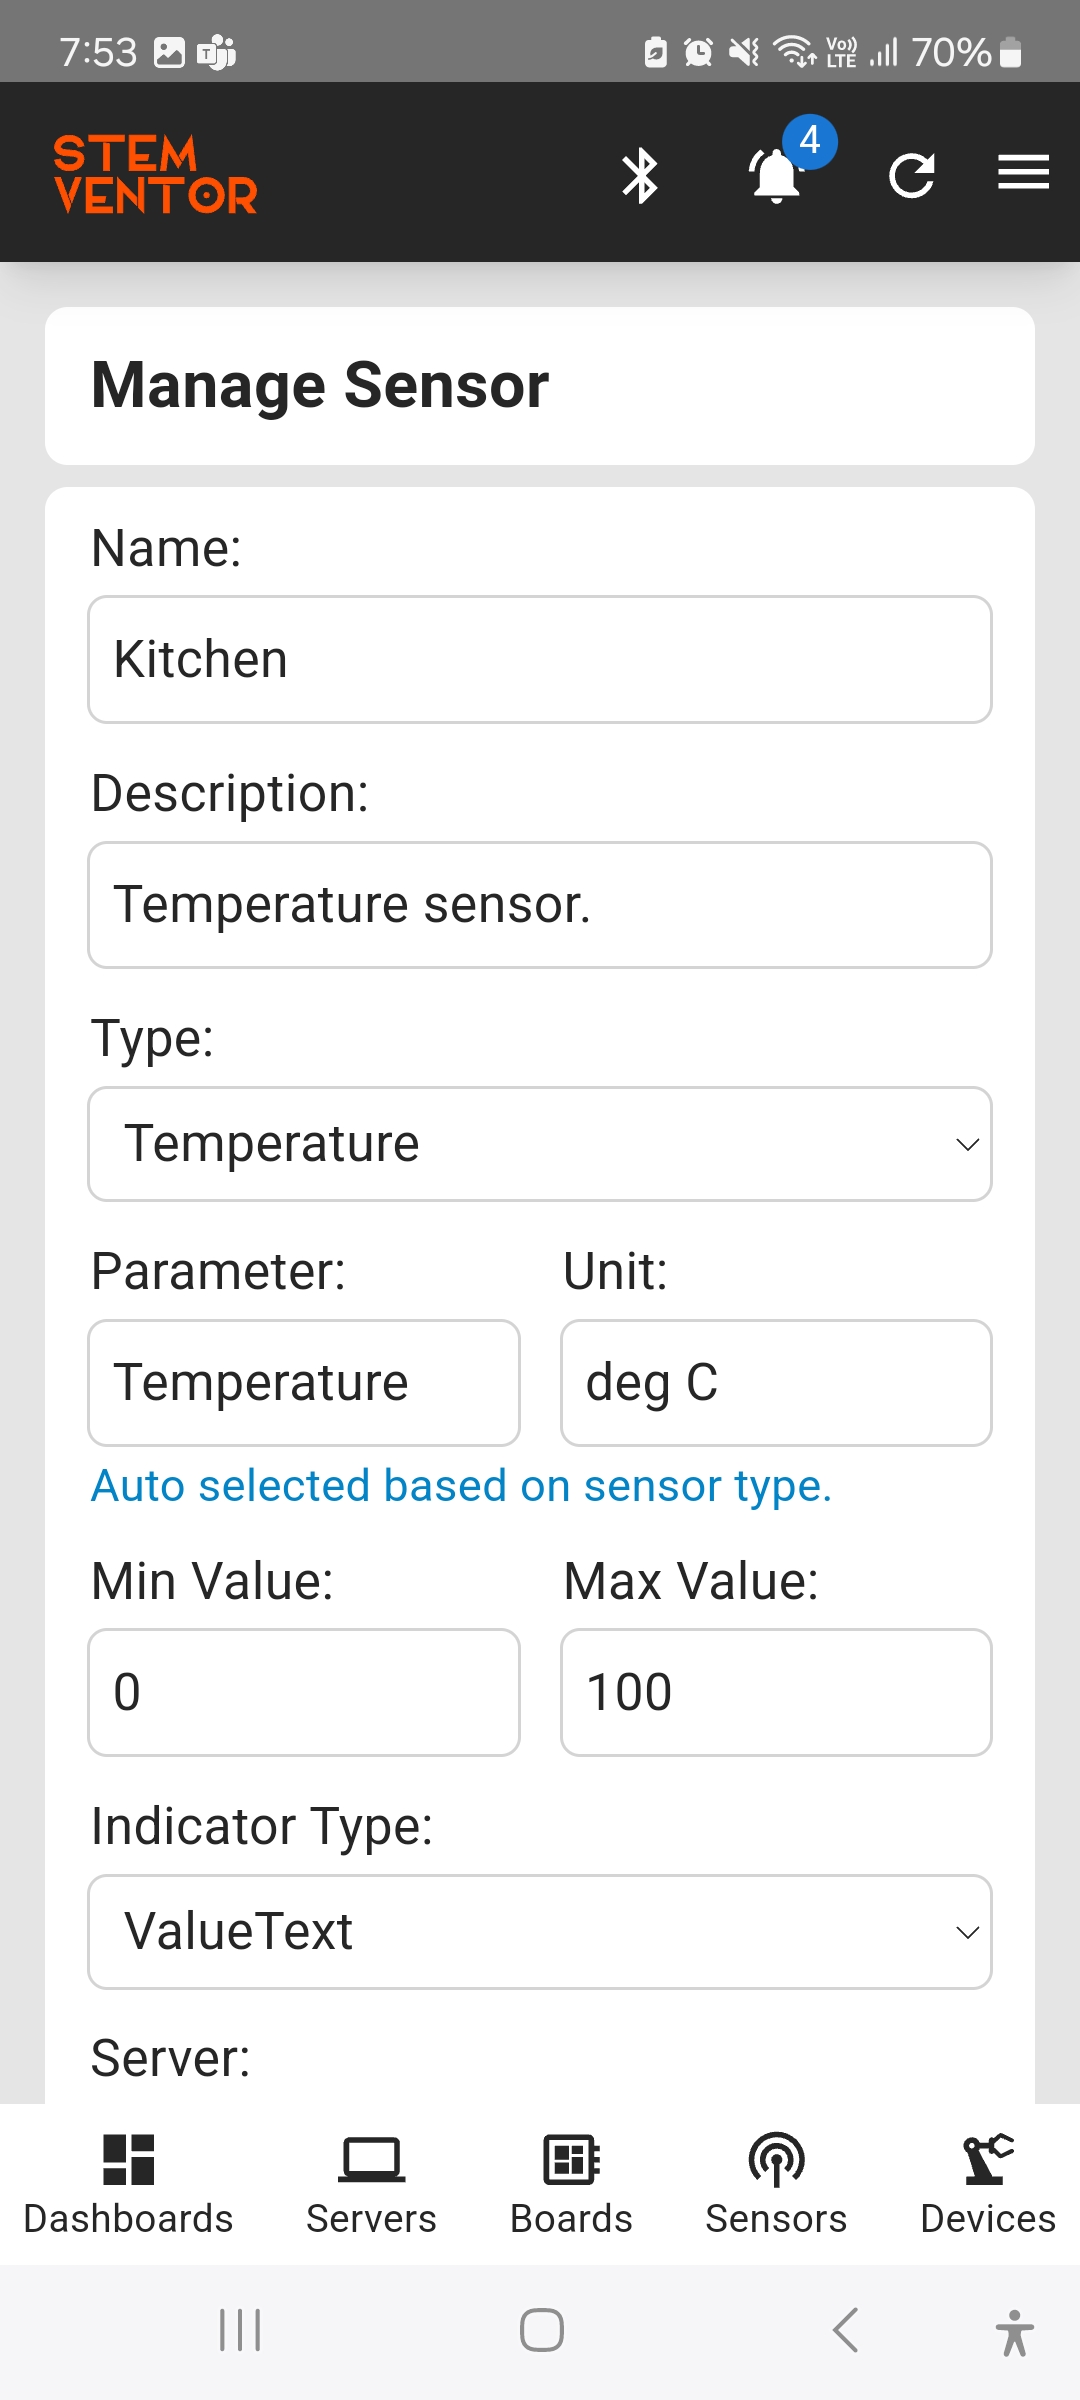
To create a sensor enter the following details in the form:
- Name
Enter a short name to identify the sensor. - Description
Enter a short description of the sensor. - Type
Select the type of sensor from the list of supported sensors. - Parameter
This is auto-selected based on the type of sensor selected. - Unit
This is auto-selected based on the type of sensor selected. - Min Value
This is the minimum value that can be expected from the sensor. This is used to filter out values that are not within the expected range so only correct values are displayed on the app. - Max Value
This is the maximum value that can be expected from the sensor. This is used to filter out values that are not within the expected range so only correct values are displayed on the app. - Indicator Type
Select an indicator type from the list. This is the visual used to display the sensor data on the dashboard. - Server
Select a server (MQTT Broker) from the list of configured servers. - Topic
This is the topic on the MQTT Broker that this sensor will publish data to. It is auto-generated based on the sensor name but can be edited. - Board
Select a board from the list of configured boards. The board must be programmed to read data from this sensor over BLE. - Pin
Enter the pin on the board the sensor is connected to. This is not used by the app specifically, it only needs to be programmed on the board correctly. The app uses this data to identify pin conflicts. - Show Historical Data
If this is selected the sensor data values are stored in memory and you can see a graph with the historical data values. The number of historical data values is limited to 10. - Enabled
The sensor is enabled by default but can be disabled if you don't want to use it for a while. - Add Alerts
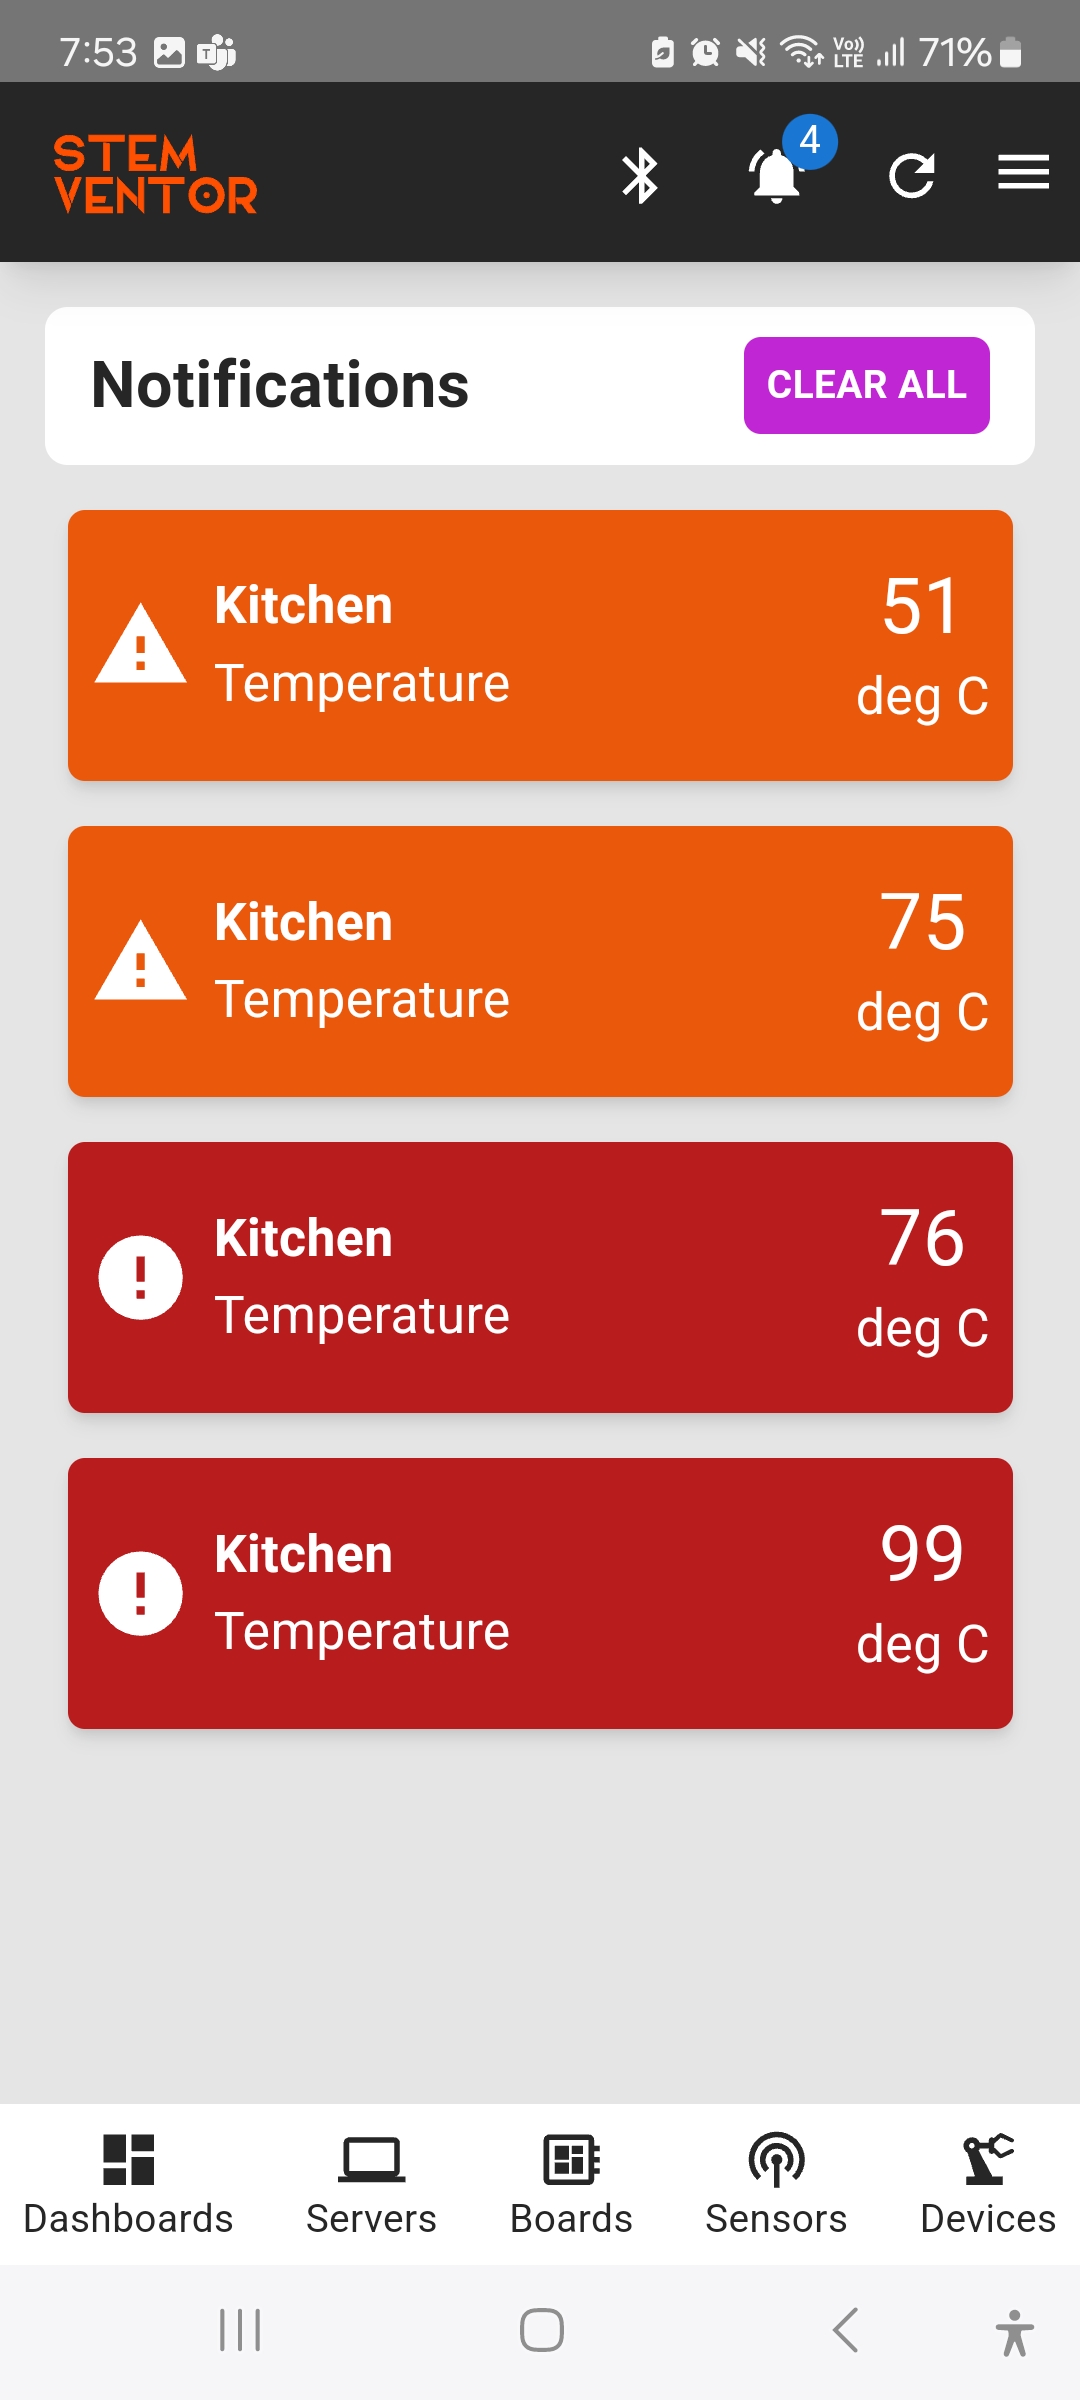
Clicking on the Add Alerts button allows you to specify the values for which alerts (notifications) should be generated. Each alert has the following fields:- Min and Max Values
The min and max values specify the range for this alert to be triggered. - Severity
This is used to highlight the value displayed on the dashboard as a green, amber, or red depending on the selected severity from the options normal, warning, or danger. - Notify
If selected, a notification is sent for this alert.
- Min and Max Values
- BLE Characteristic Name
This is an auto-generated reference name to map the UUID to this sensor. - BLE Characteristic UUID
This is the auto-generated UUID that must be programmed into the microcontroller that this sensor is connected to.
Sensor Pages


Notifications Pages
The app can be configured to create notifications when the sensor value is in a specified range.
