Write, Compile, and Deploy
Writing Smart Contract code is just like writing any other software program. You can use any IDE but the Remix IDE is highly recommended since it allows you to write, compile, and deploy all from the same IDE.
The Smart Contract code with detailed explanatory comments and instructions to compile the code will be made available to subscribers.
Compiling a Smart Contract
Smart Contract code is compiled using the Solidity compiler solc. Although, if you use the Remix IDE you do not need to explicitly run this.
The Remix IDE allows several options when compiling a Smart Contract:
- You can select the version of the Ethereum Virtual Machine (EVM) you would like to compile the contract for.
- You need to be aware of the size of the compiled code. Many EVMs may have limitations on the size of the contract that can be deployed. Remix offers an option to optimize the size of the code.
- You can select several optimization parameters, which are not required at this stage of learning, but are important in real-world deployments. For example, by default, the optimizer will optimize the contract assuming it is called many times across its lifetime. In which case the deployment cost is higher but subsequent transactions are cheaper. In a reverse scenario, you may want the initial contract deployment to be cheaper and the later function executions to be more expensive.
When the contract is compiled the compiler generates a JSON object known as the Application Binary Interface (ABI). The ABI is required by other applications that want to interact with contracts, both from outside the blockchain (web apps for example) and for internal contract-to-contract interactions.
See the screenshots below:
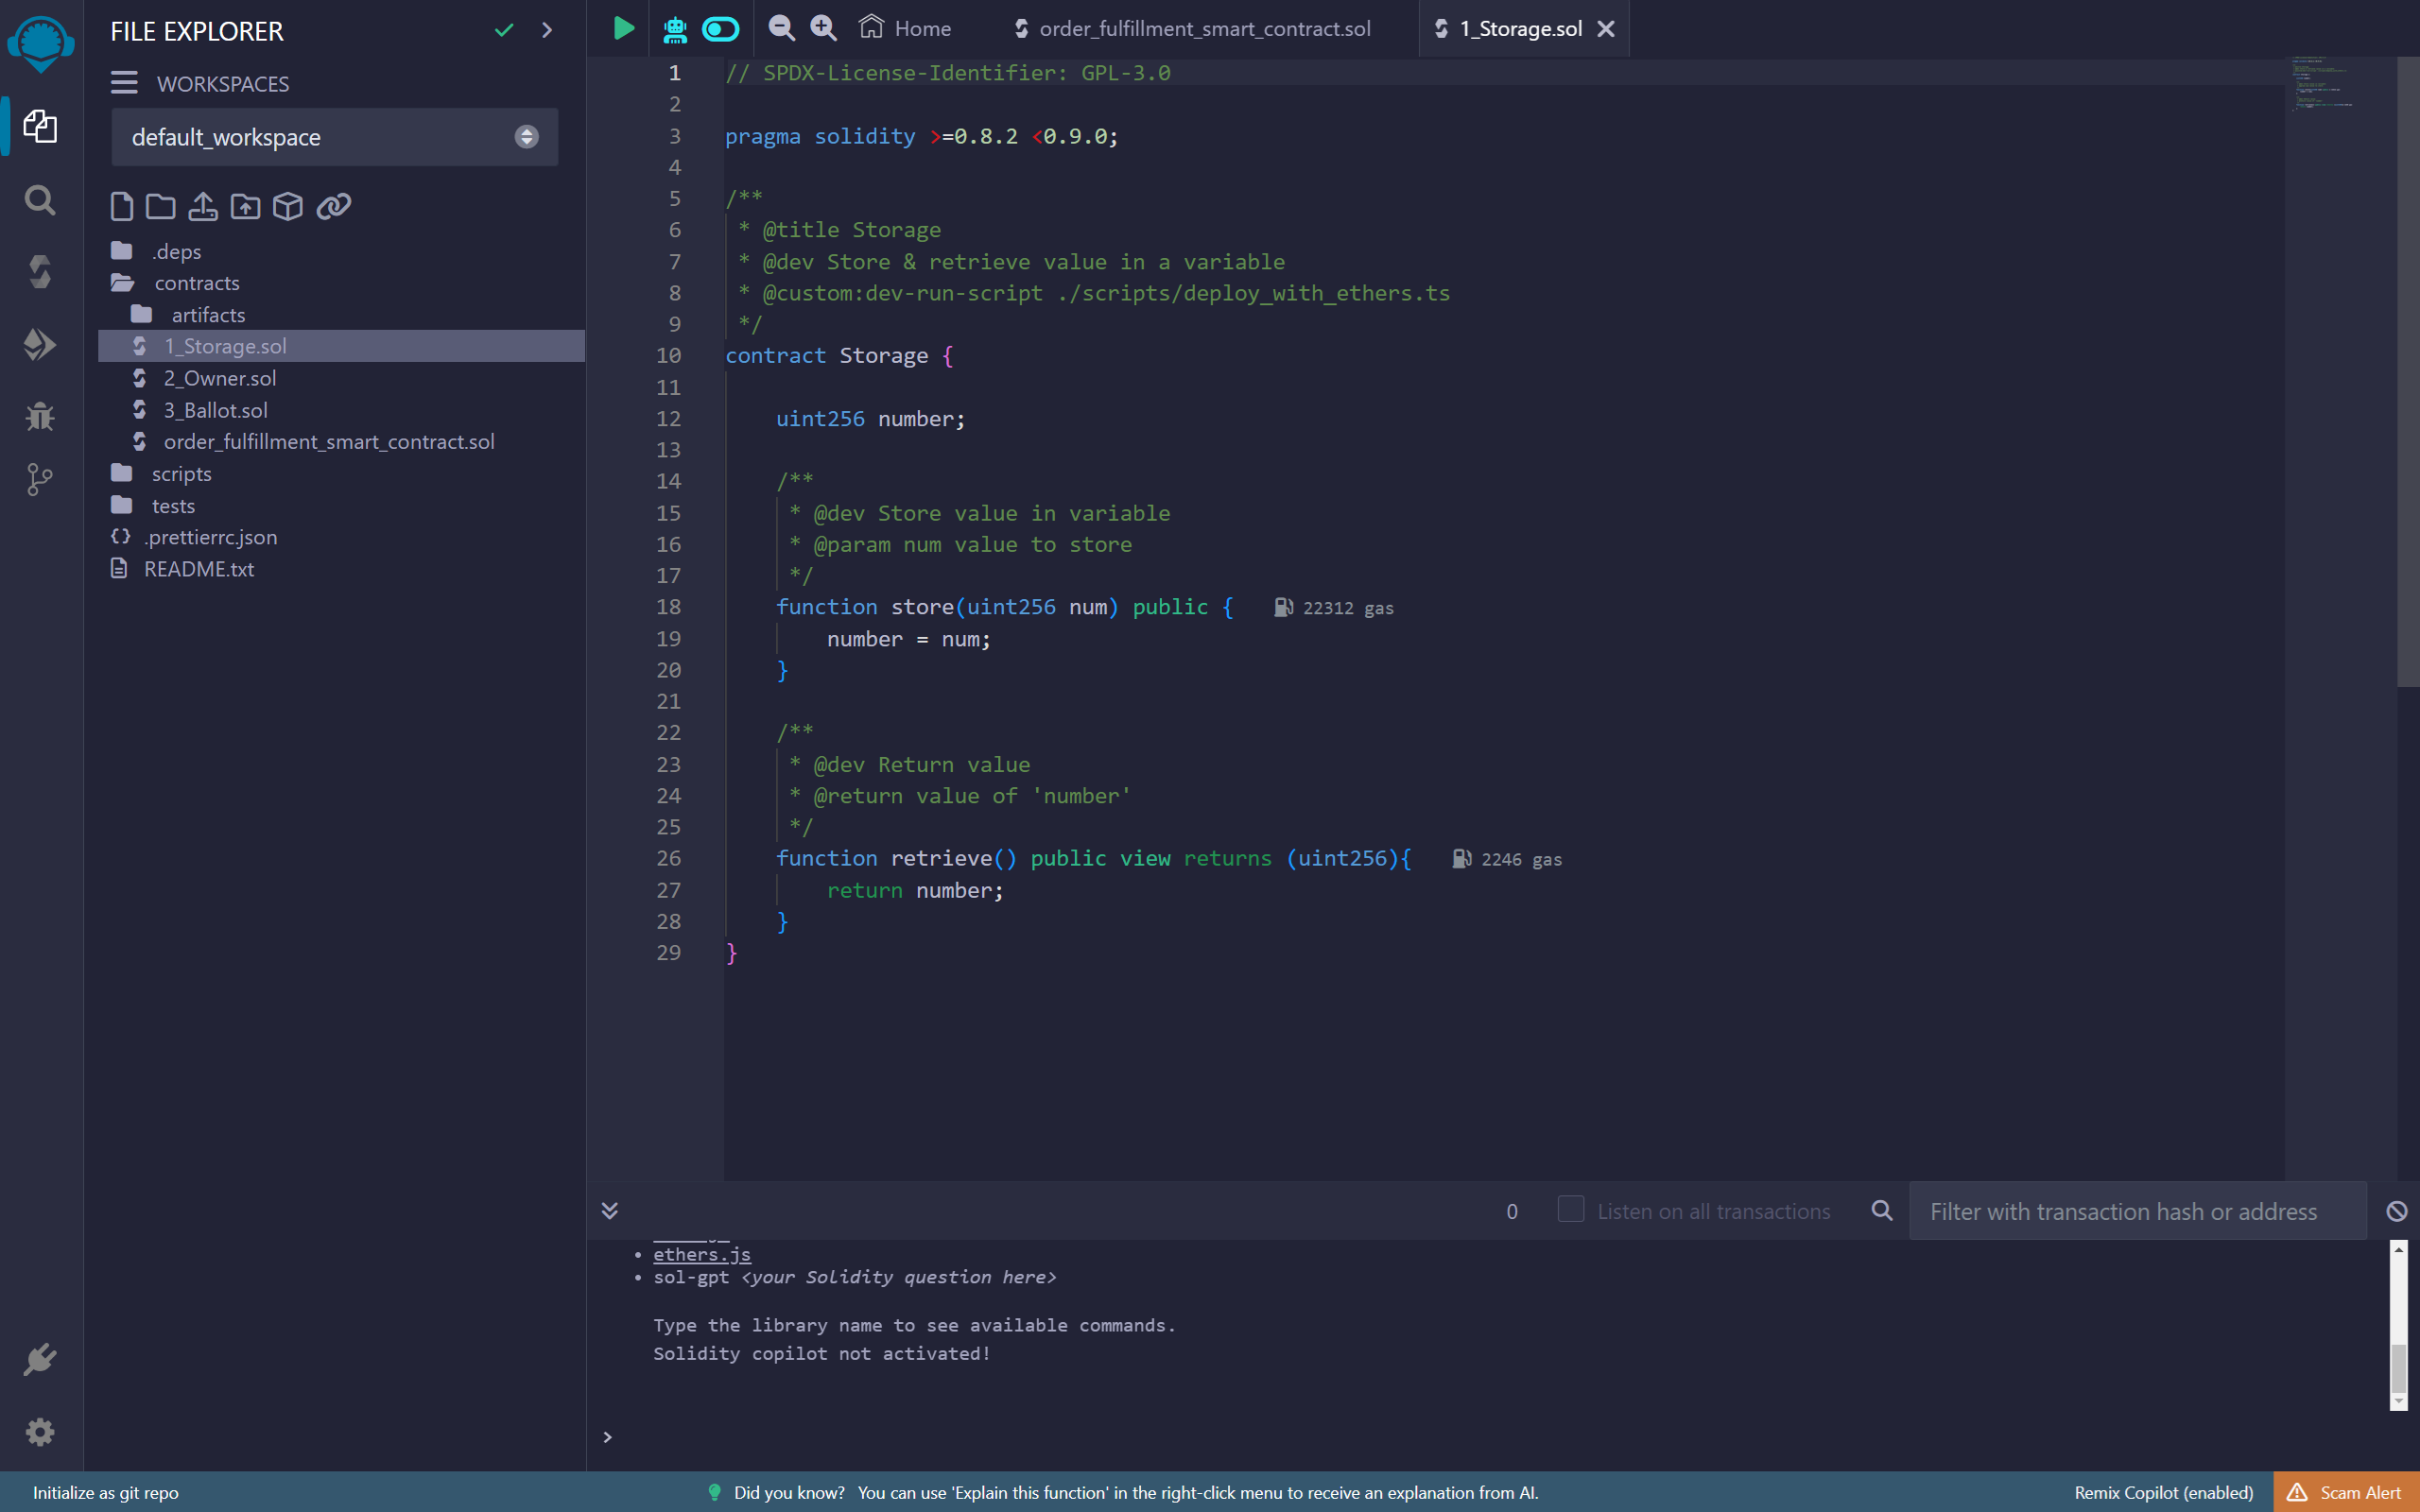
- Write the Smart Contract code
This is the code for a very simple example that comes with the IDE.
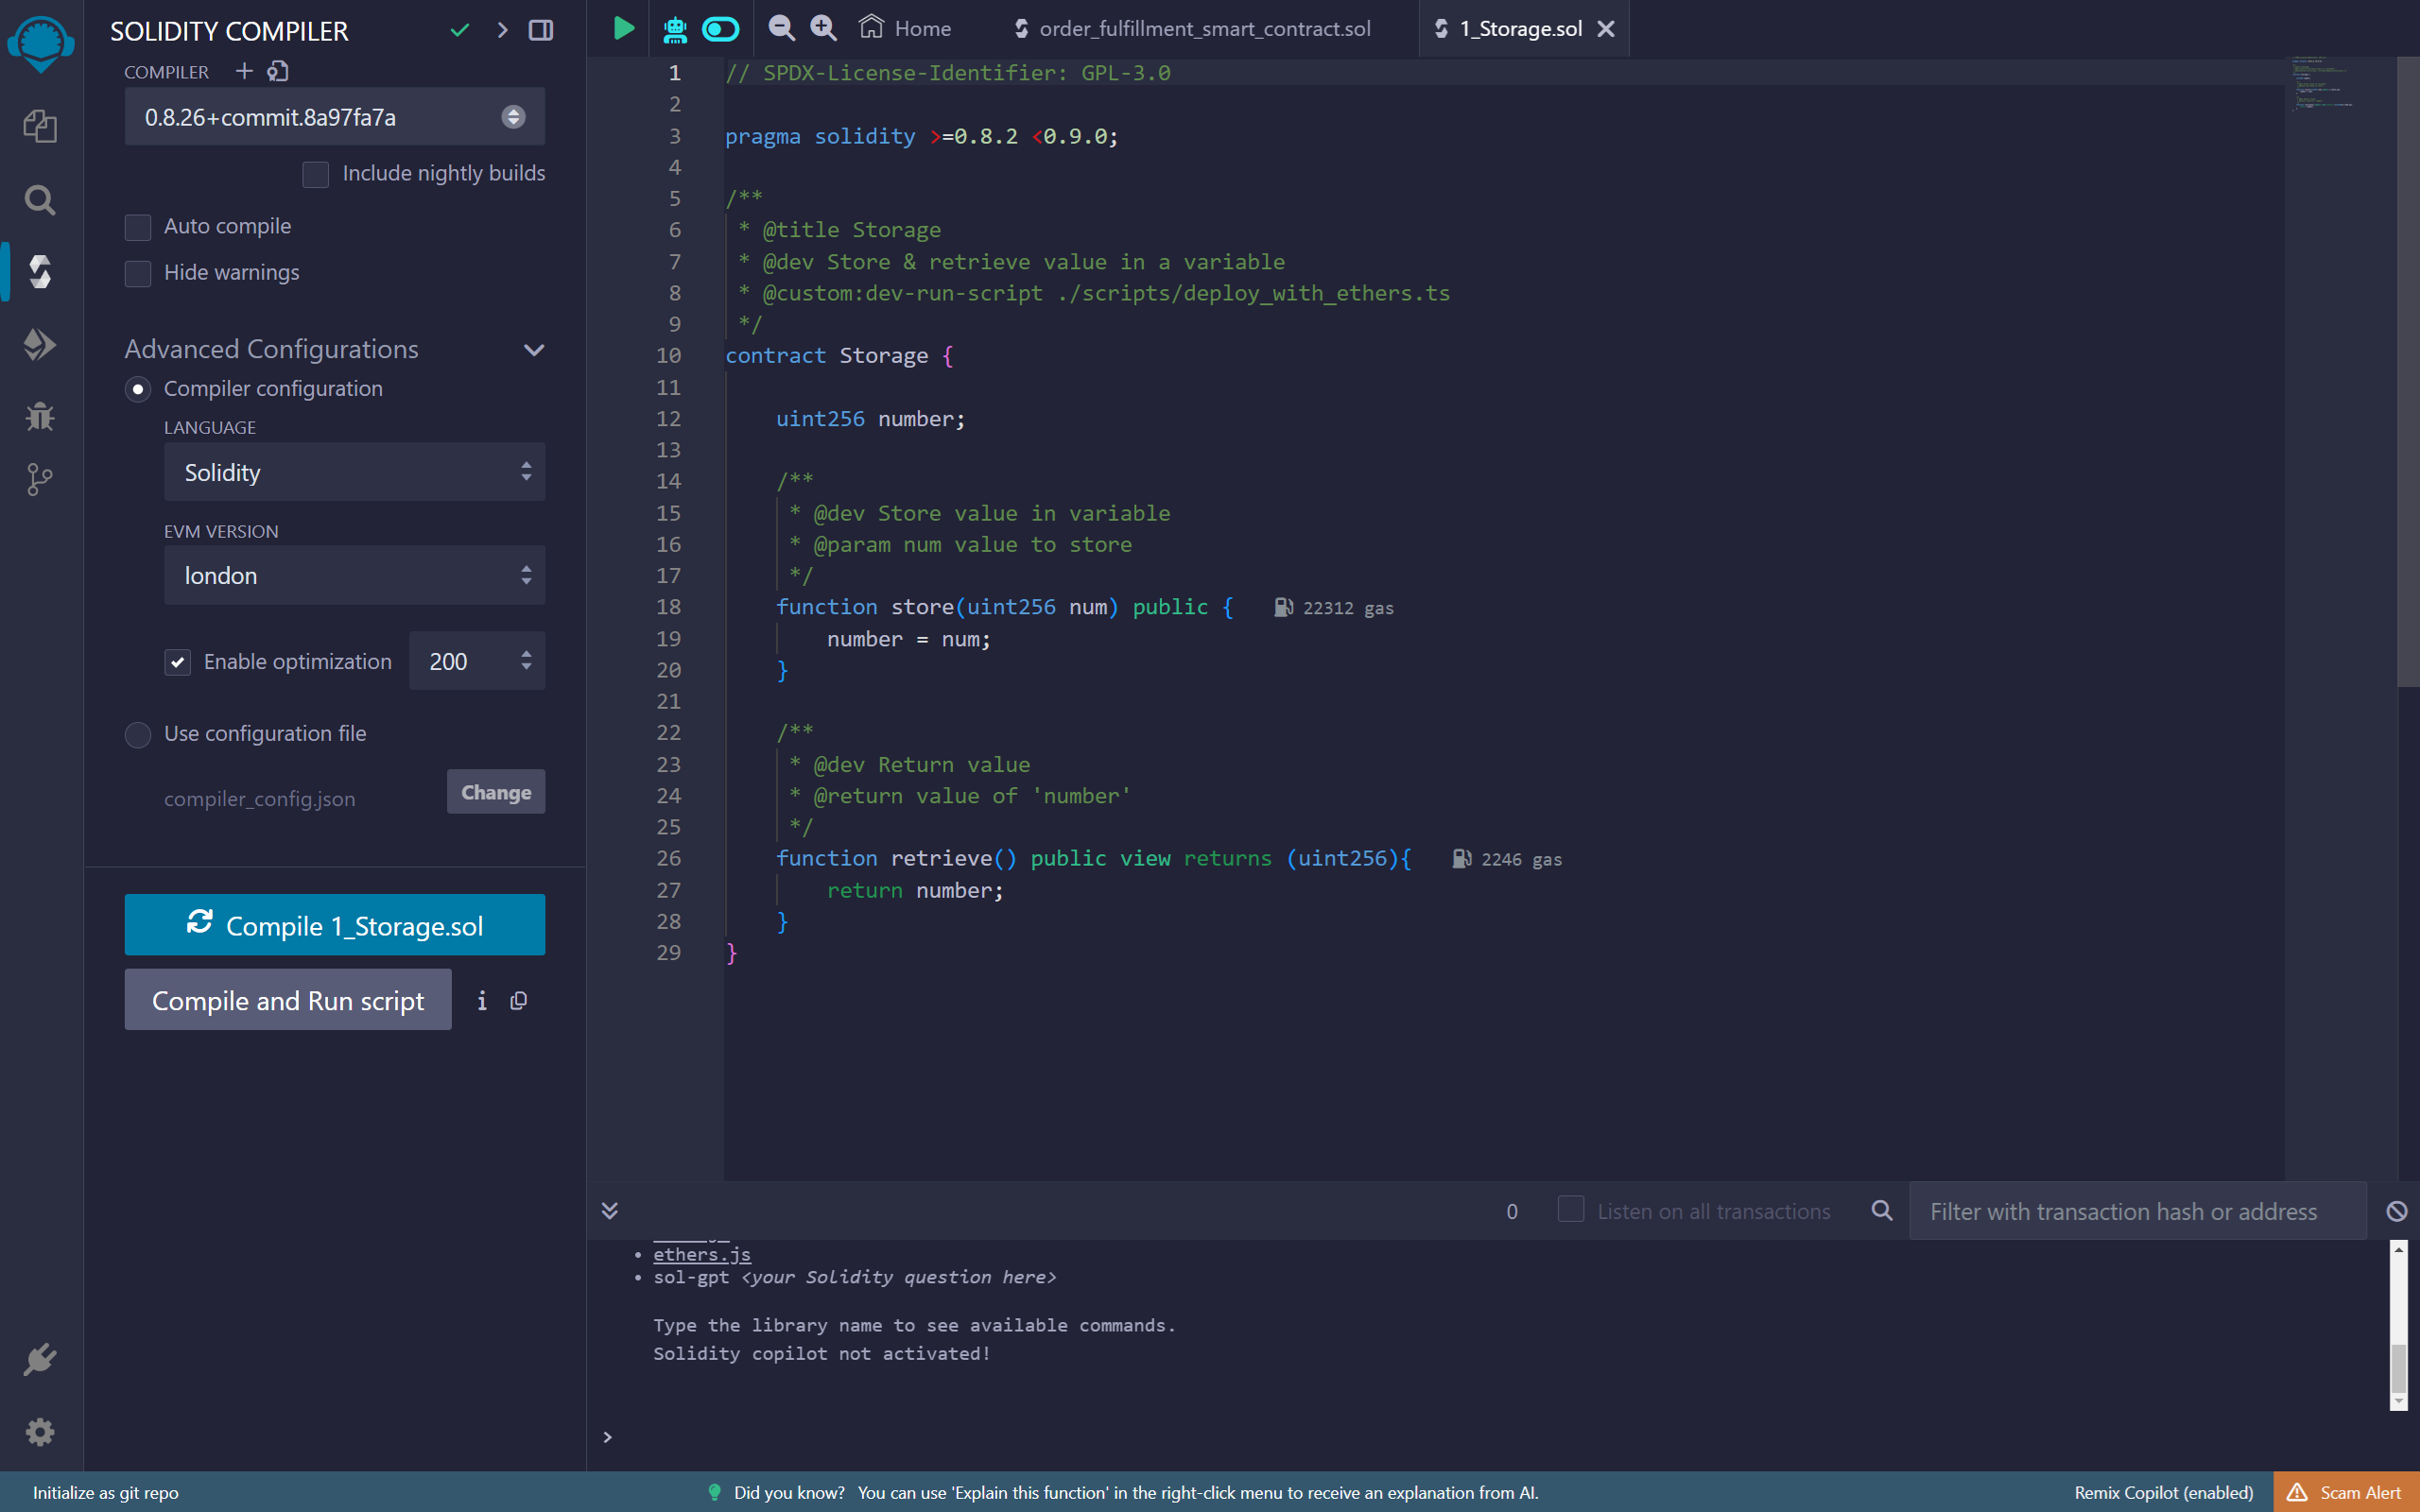
- Compile the code
You have several options when compiling. For a simple contract you do not need to do much, for more complex contracts the compiler version, optimization options, and target EVM are important decision.
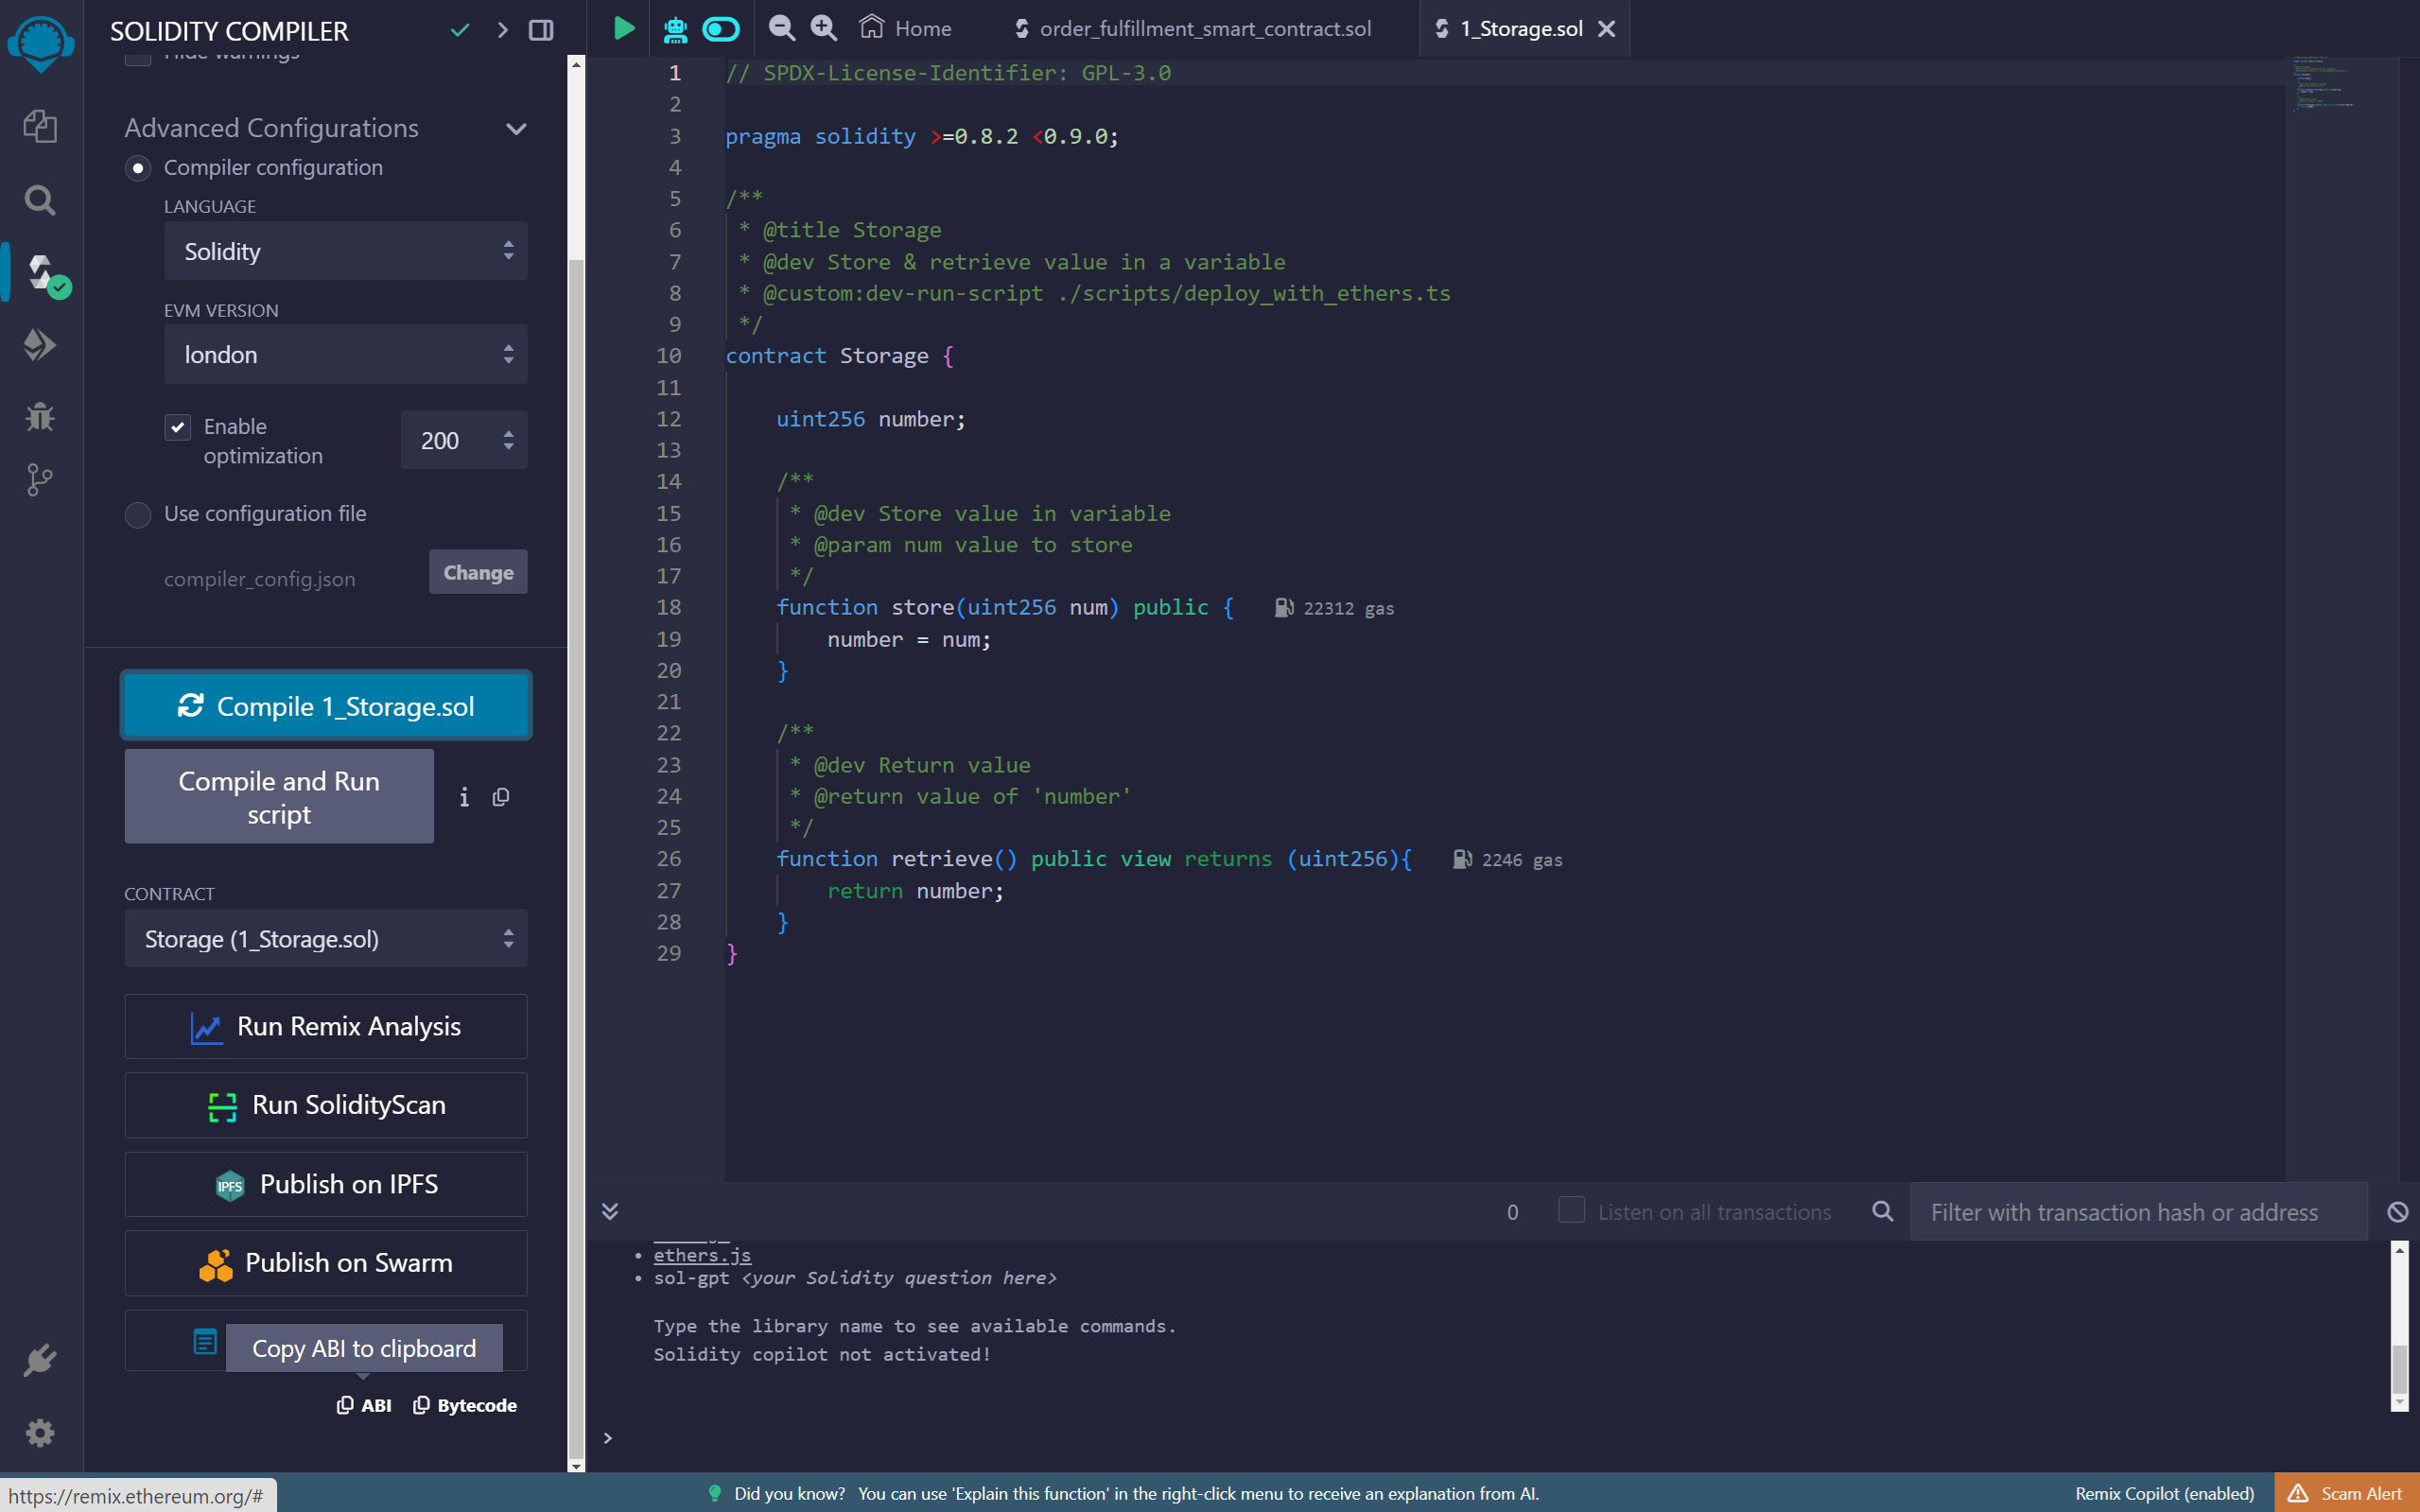
- Compilation Output
The compilation process generates a JSON object known as the Application Binary Interface (ABI). This is required in external application code (such as the web app) to inetract with the contract. You can copy the ABI directly from the IDE and paste it into your code as required.
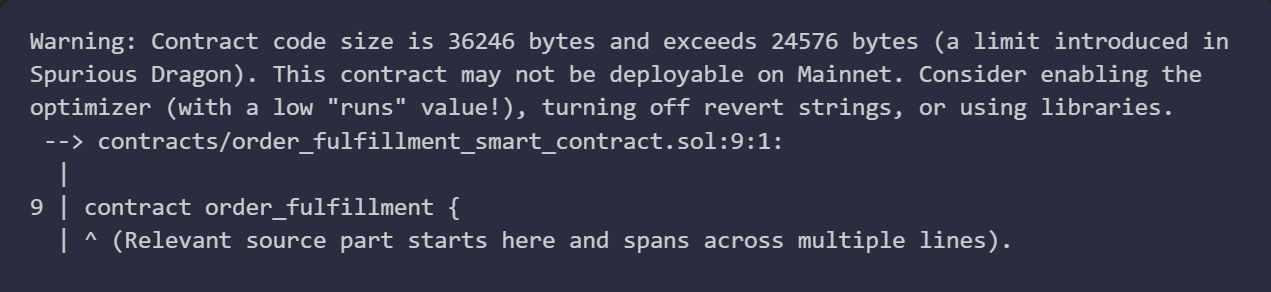
- Contract Size Warning
You may see this if the compiled output of your contract is too large. There are options to get around this problem, including breaking up your contract into multiple smaller contracts.
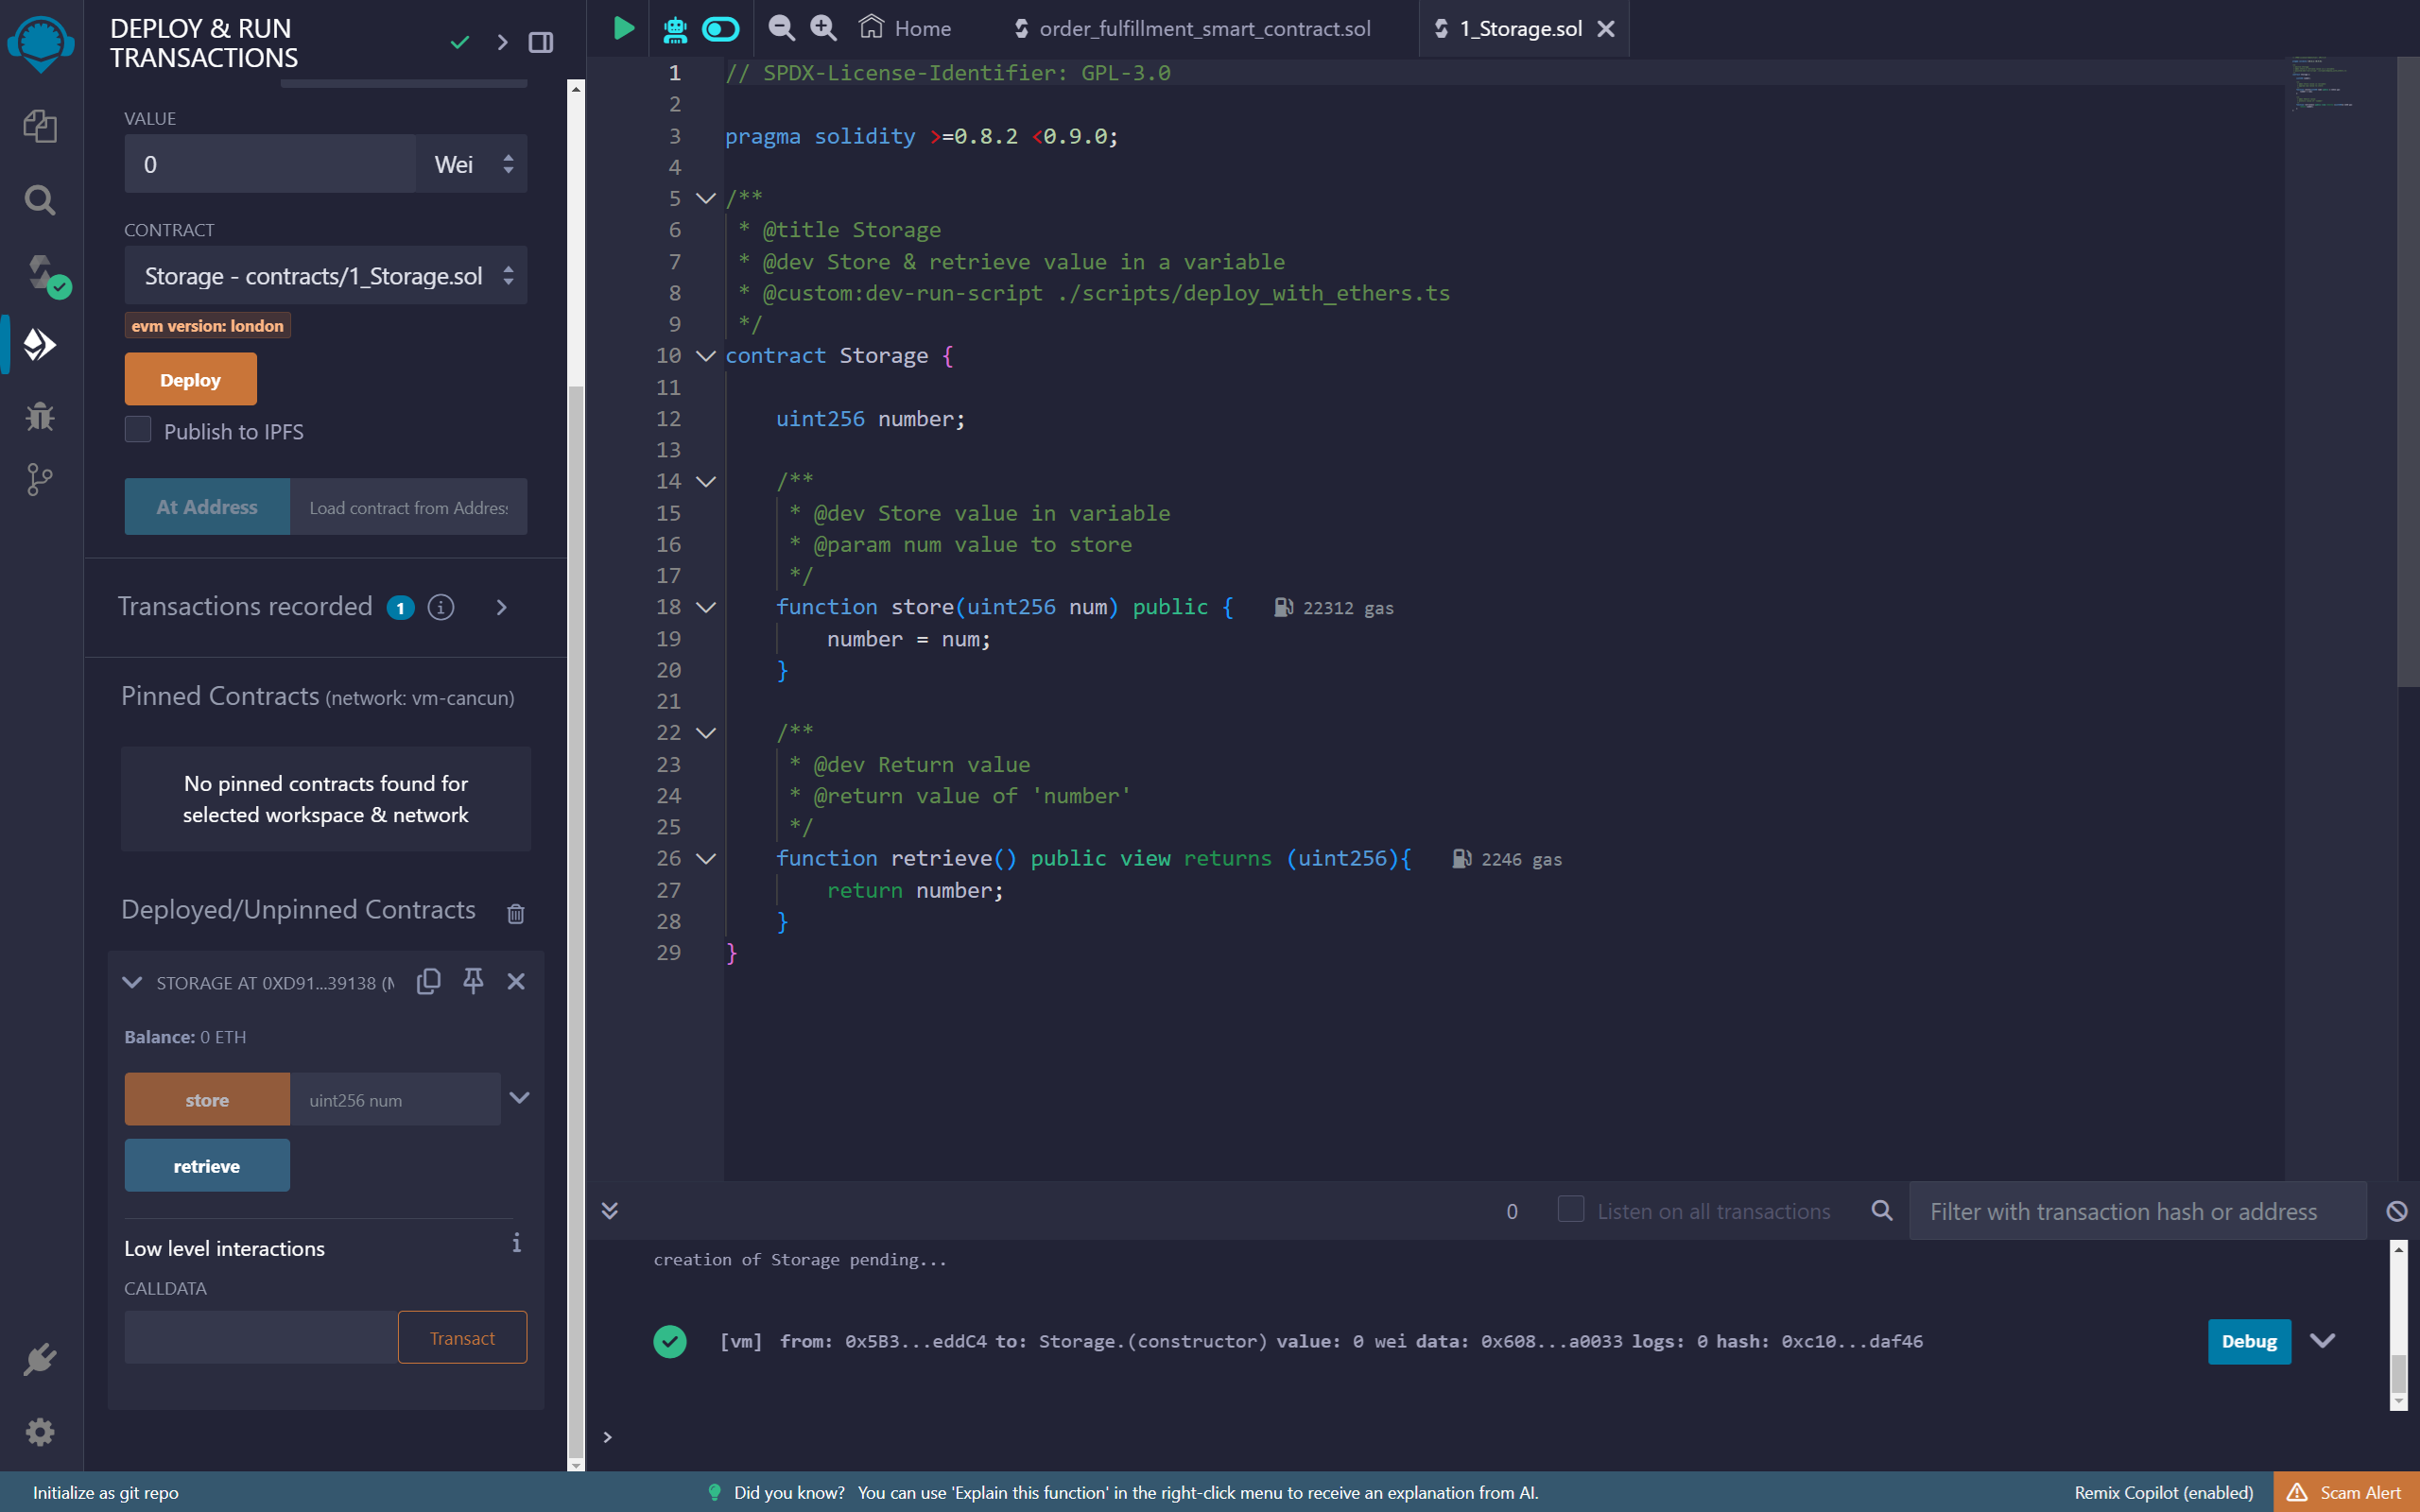
Test the Smart Contract
The Remix IDE also allows you to test the functions from within the IDE itself after you have deployed the Smart Contract.
You will see the functions that are externally available as buttons with the corresponing input fields for the parameters the function requires.
The buttons are color coded:
- Orange buttons send data to the Smart Contract.
- Blue buttons get data from the Smart Contract.
- Red buttons transfer ether to or from the Smart Contract.
In this simple example, you can enter any integer value and click on the store button. This will store the value in the Smart Contract storage.
Click on the retrieve button to see the value you just stored.
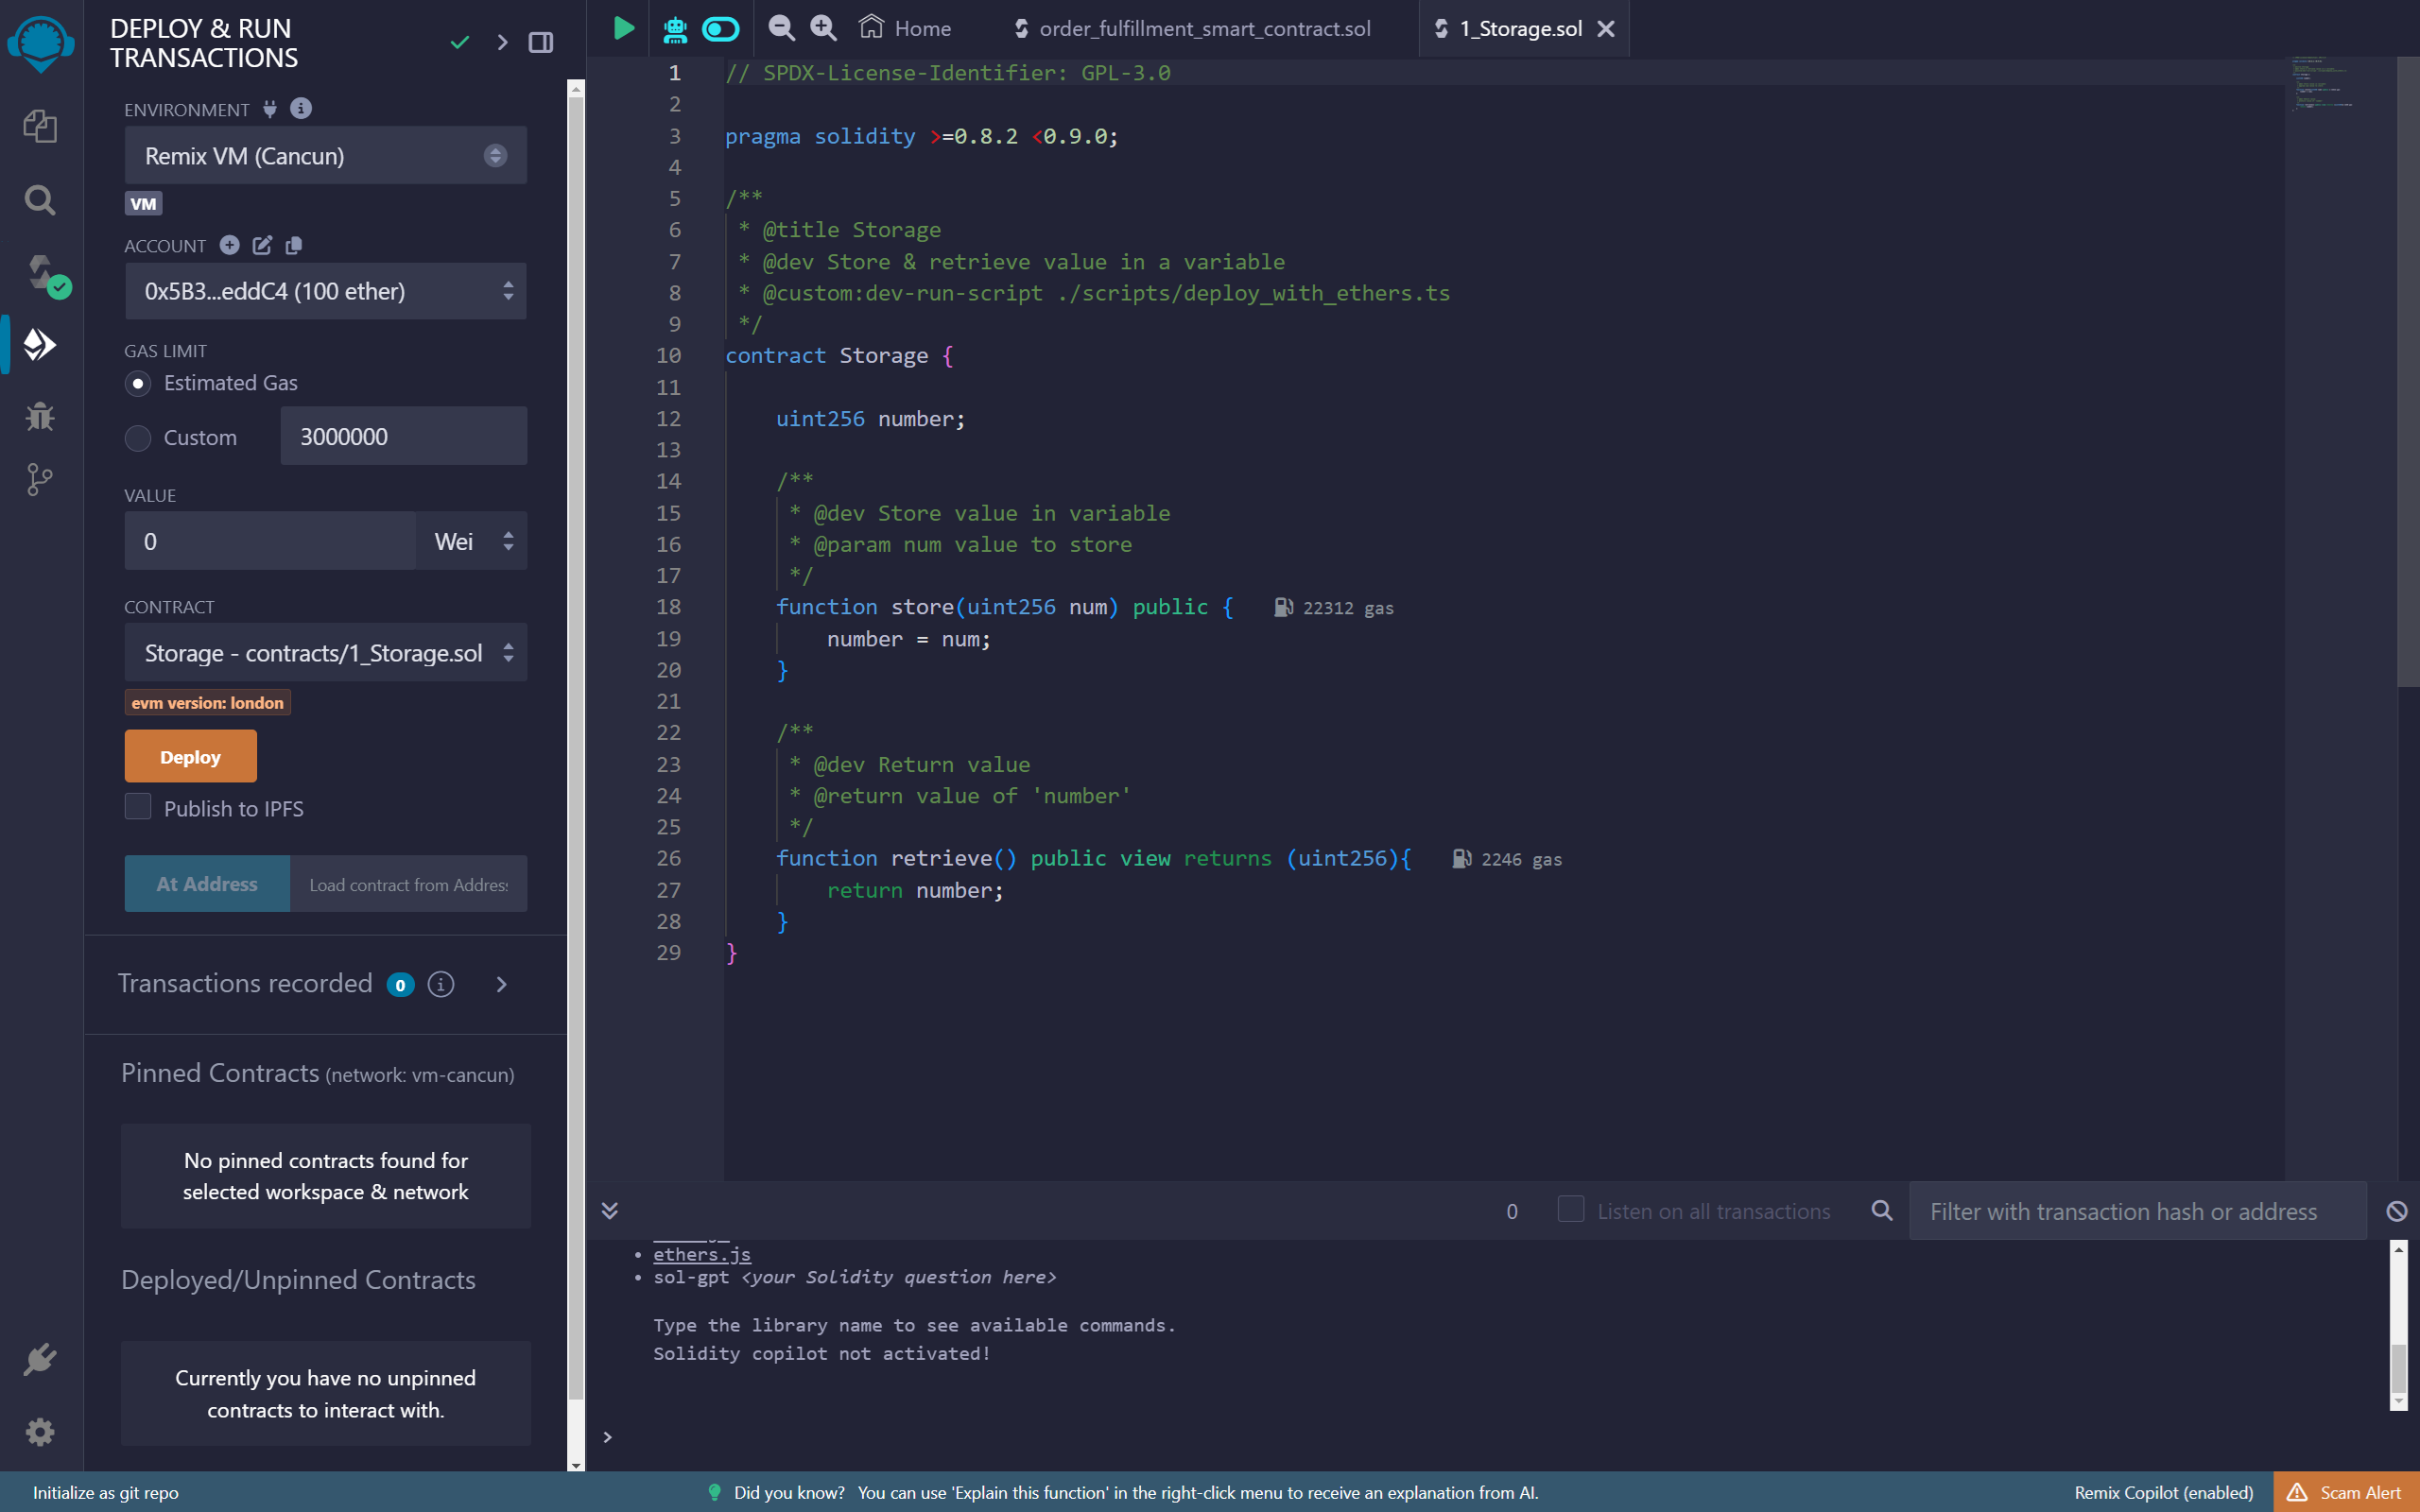
Deploy the Smart Contract
After the contract has compiled sucessfully (without any errors), you can deploy it to the Blockchain network where you need it. Remix IDE offers you the option to deploy it to a built-in Ethereum Virtual Machine (EVM) so that you can test the functionality before deploying it to your network.
You can select the default EVM (named Cancun). Multiple dummy account with ether balances are provided for you to test with.
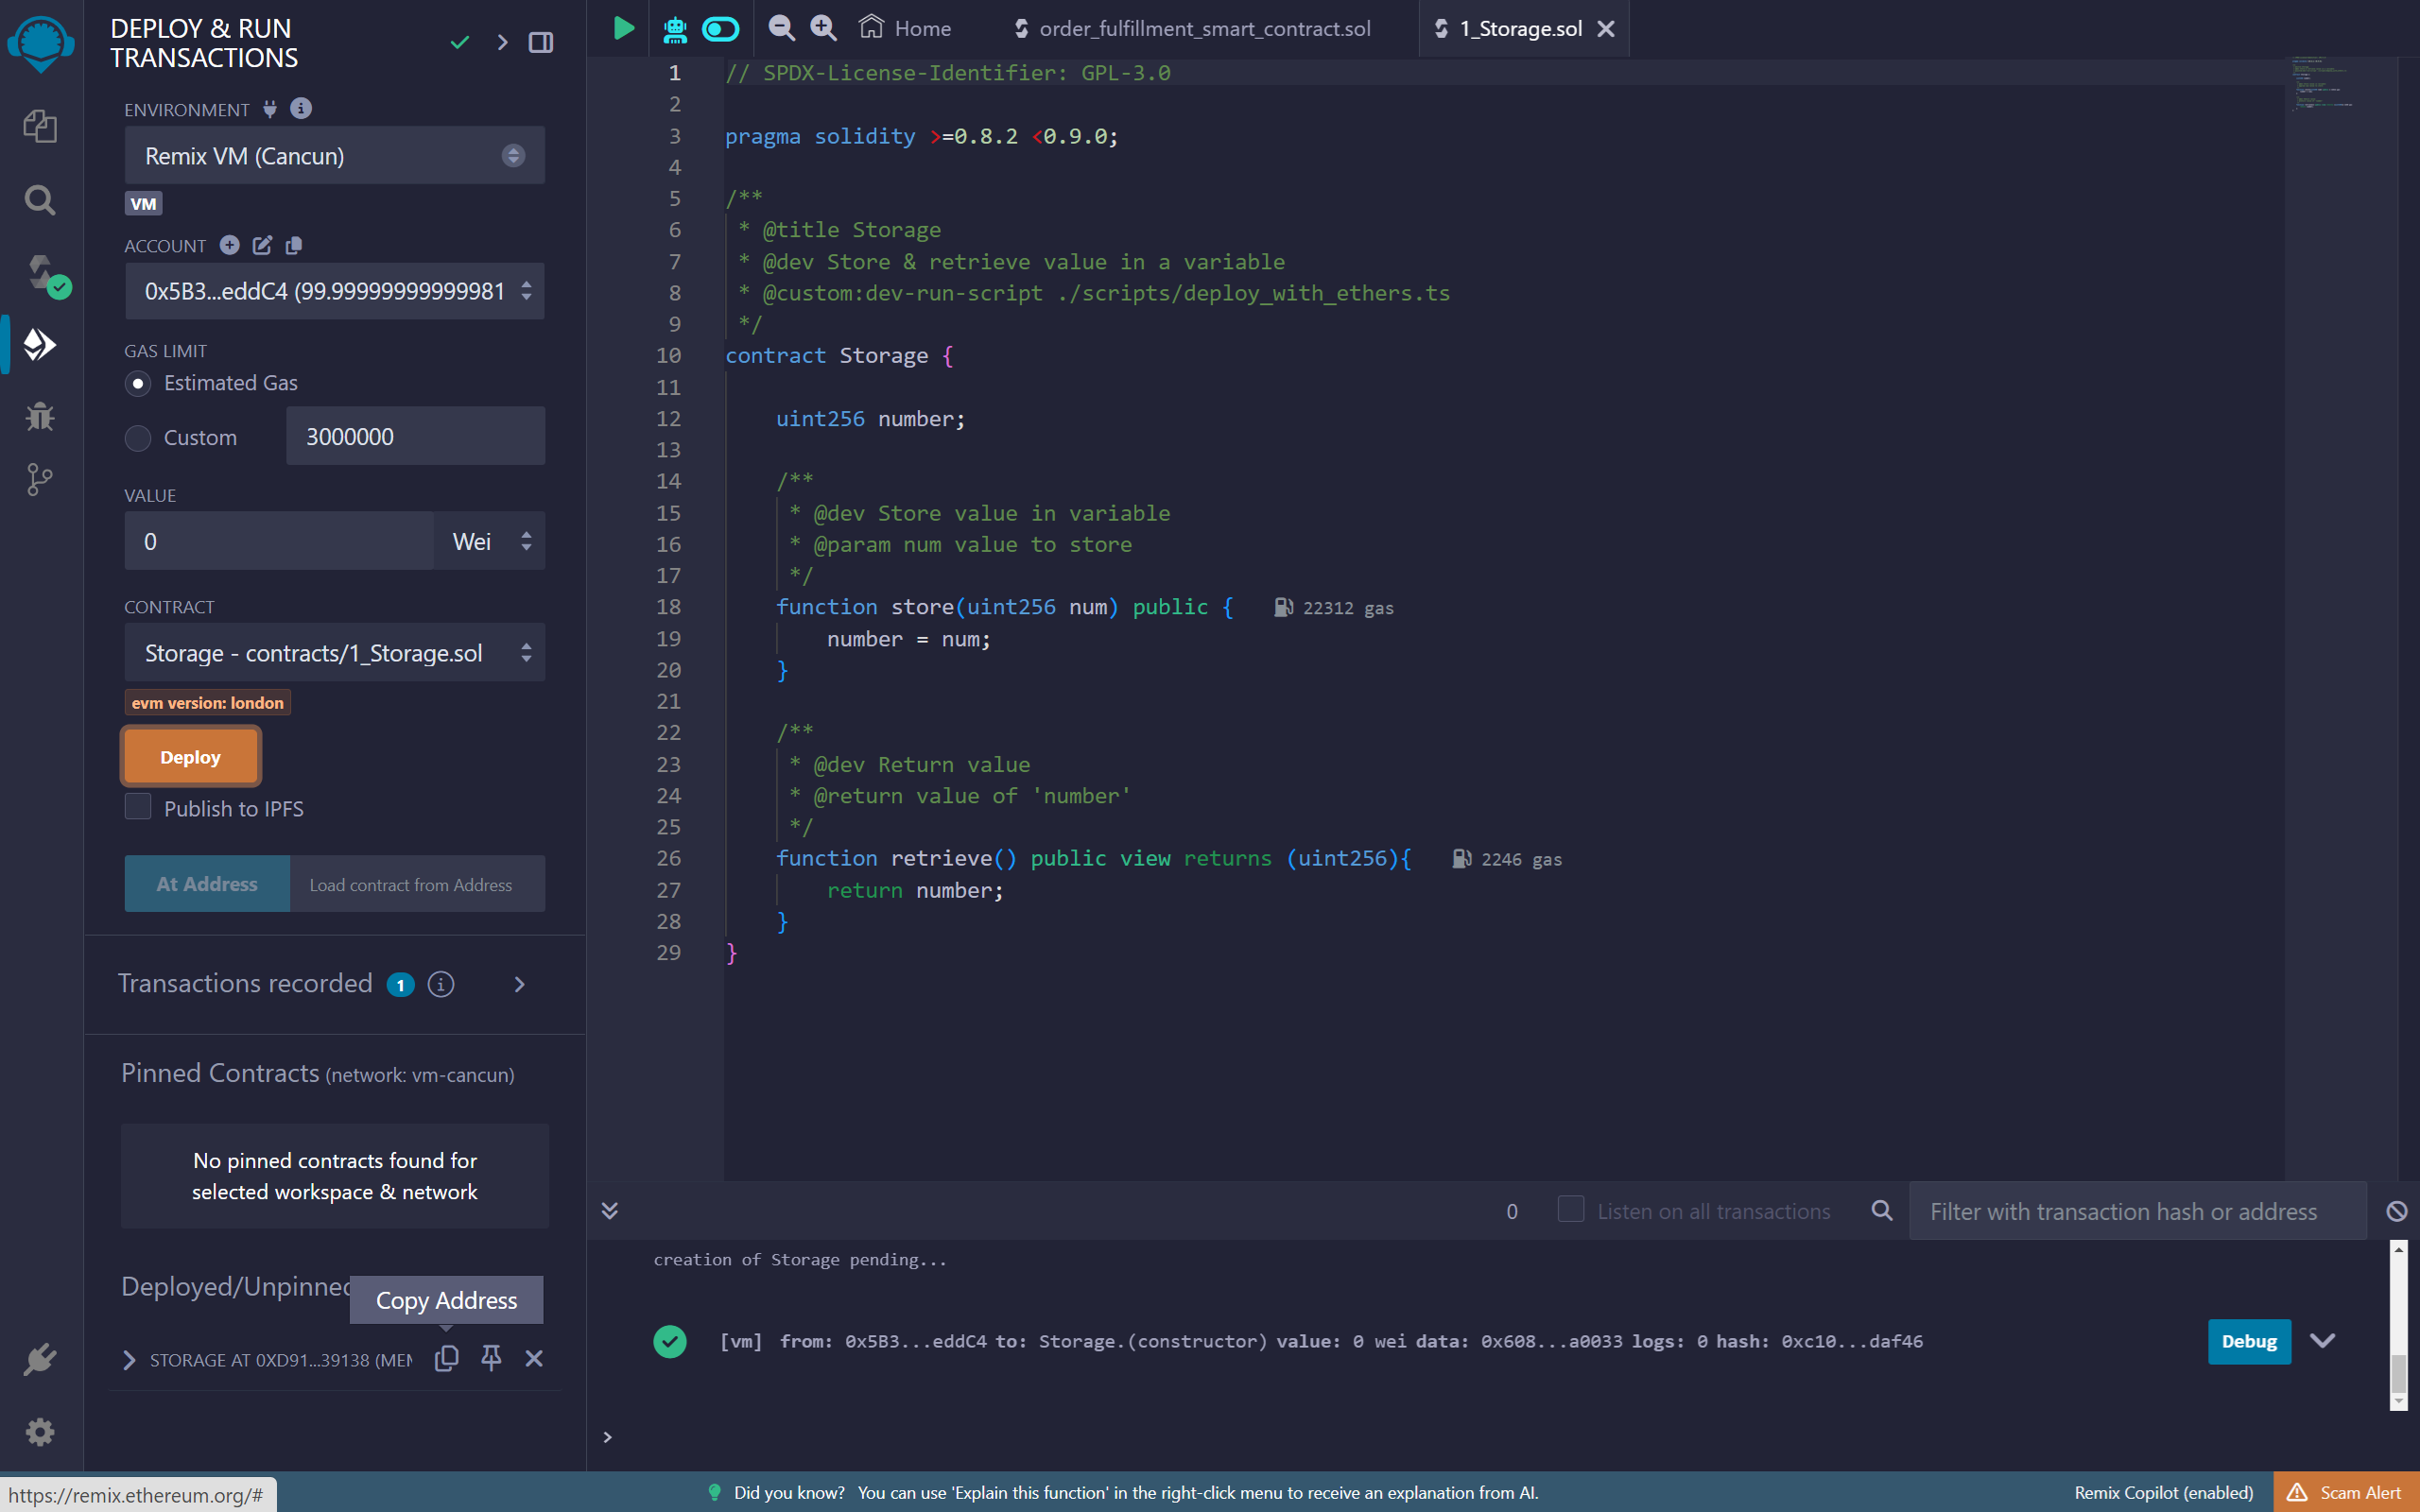
Once you have selected your deployment options, click on the Deploy button.
After the contract has deployed successfully you will see it in the Deployed Contracts section. You will see the Contract Address, which is required in external application code (such as the web app) to inetract with the contract. You can copy the Contract Address directly from the IDE and paste it into your code as required.
Deploying to an external network
When you have your Devnet nodes up and running, you can deploy the contract to your Devnet using the Custom - External Http Provider option under Environment (instead of selecting one of the in-built EVMs).
You have to first connect to your Devnet by specifying the URL and port number for any one of the nodes on your Devnet (you need to deploy to any one node and it is accessible to all nodes on the network). The screenshot below shows the default which is your local computer and the default port.
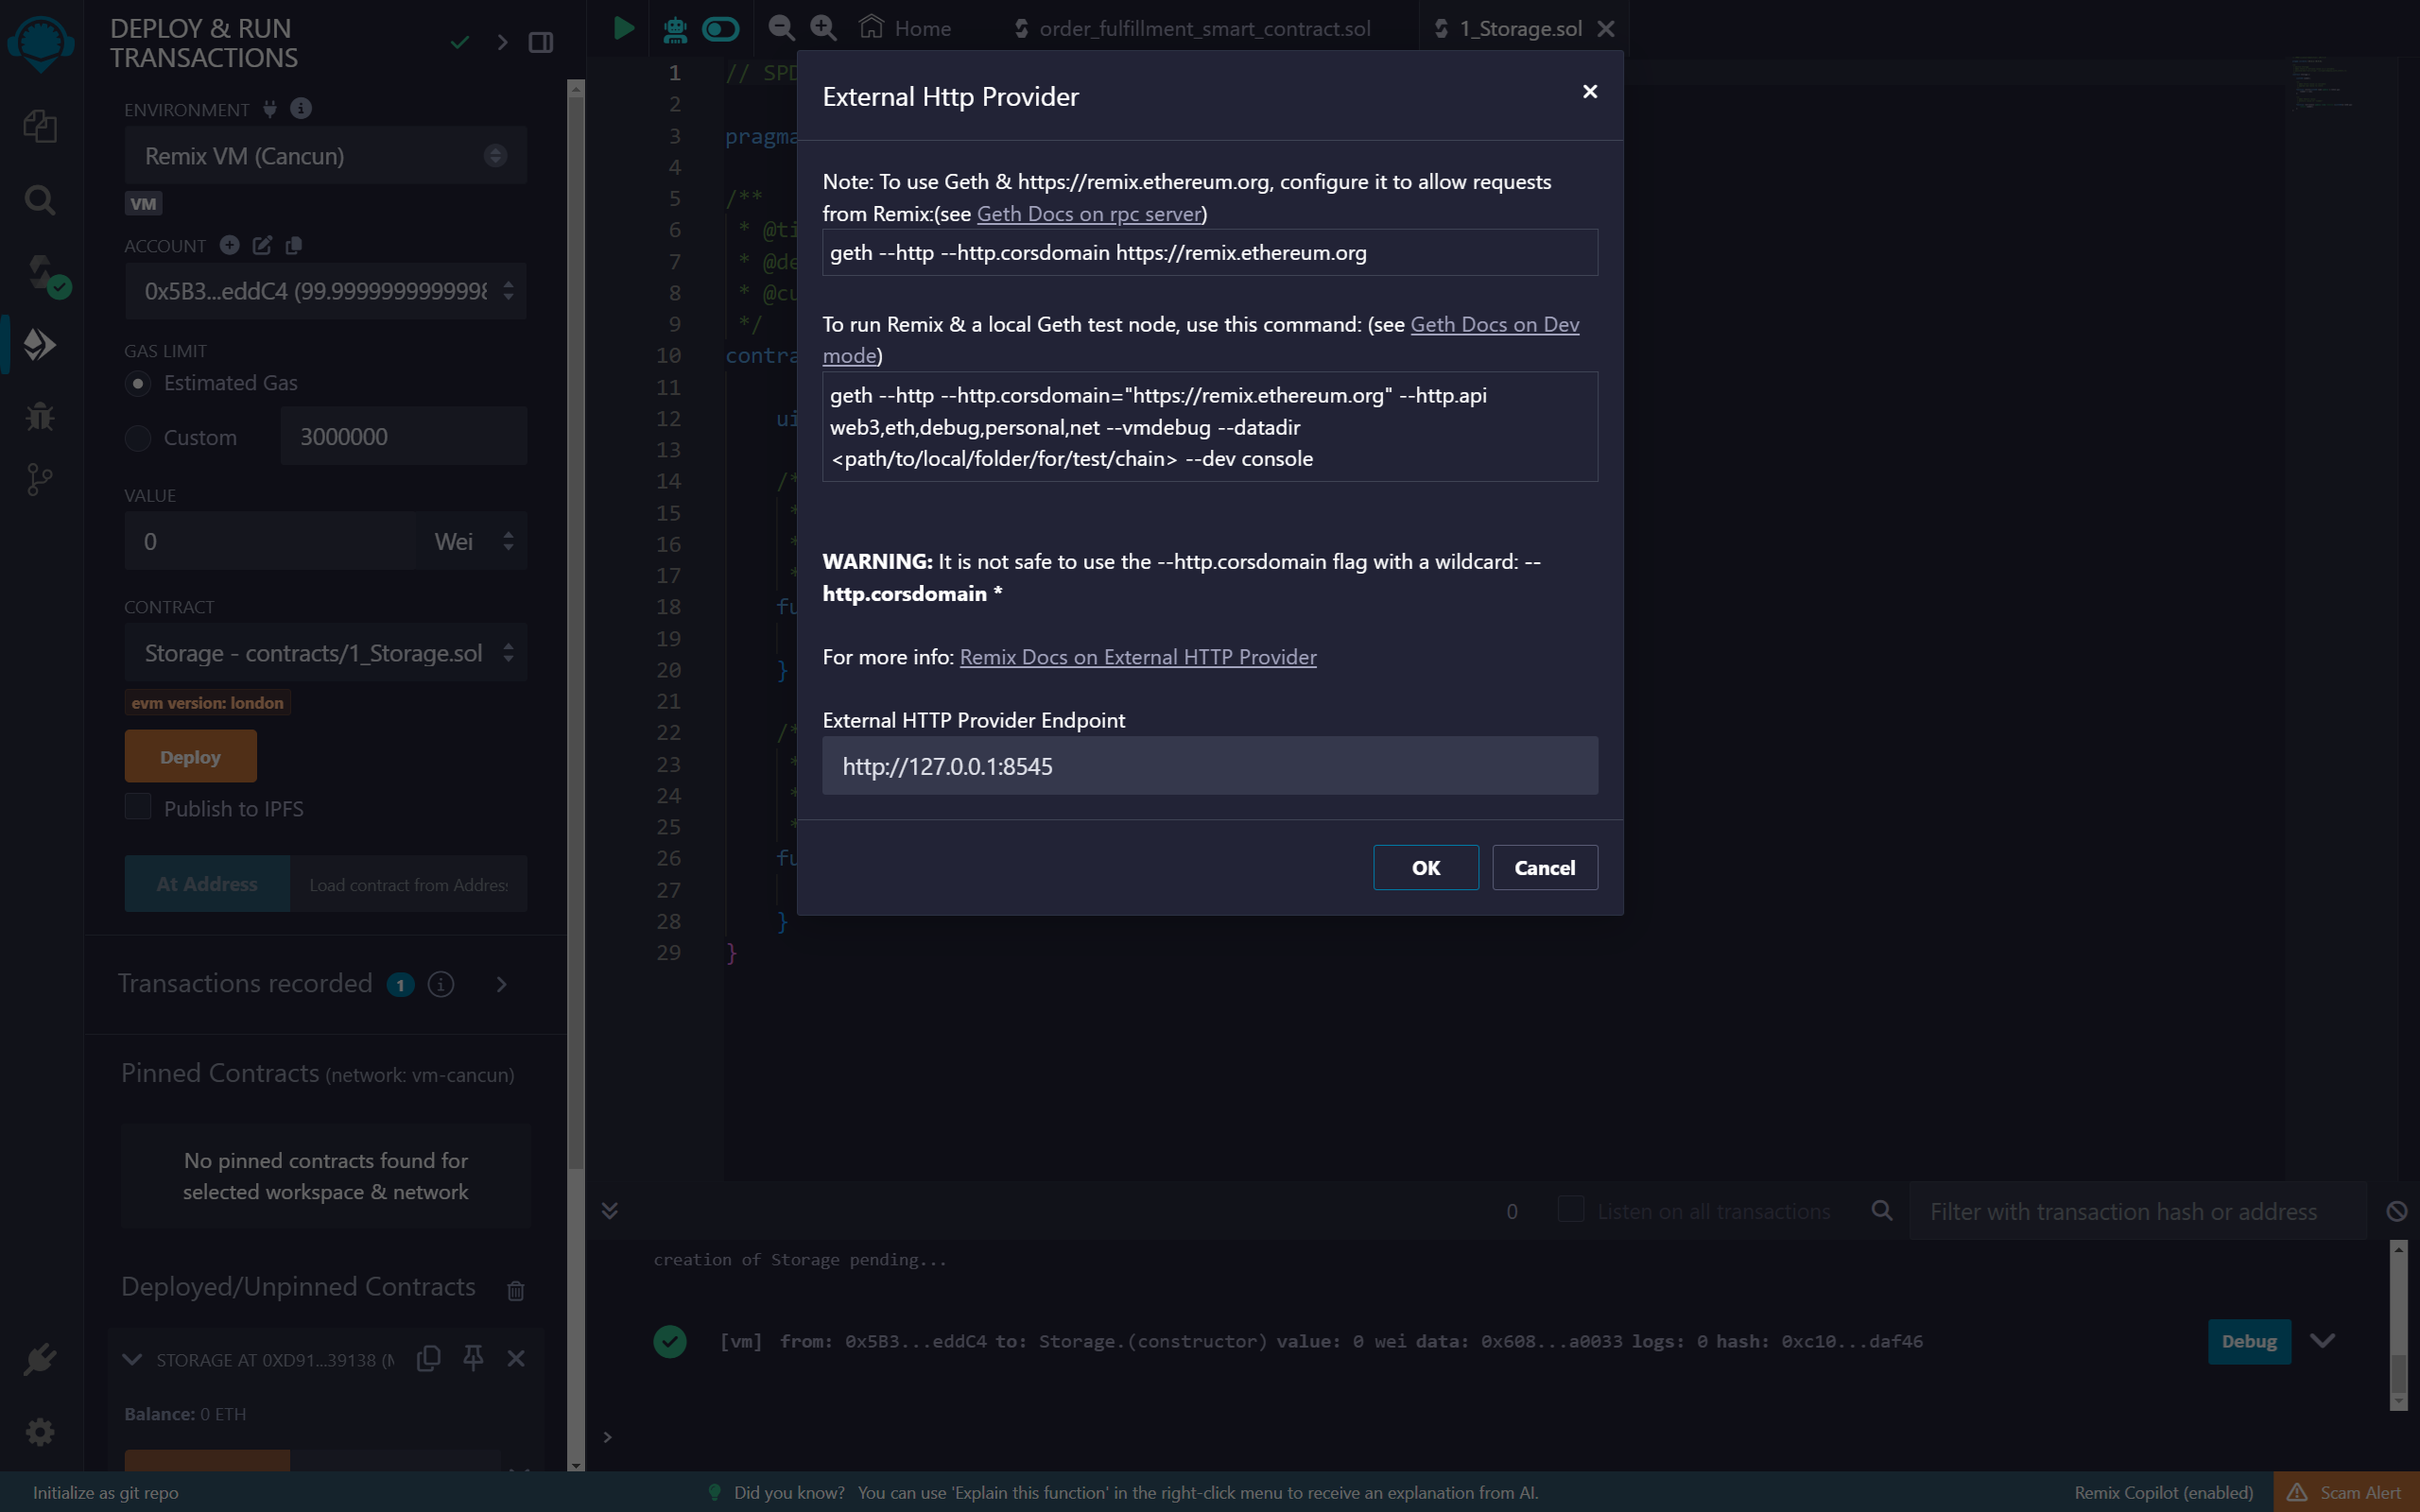
Once your are connected you will see the accounts set up on that node, with their ether balances. You can select the account you want to deploy the contract from and click on Deploy.